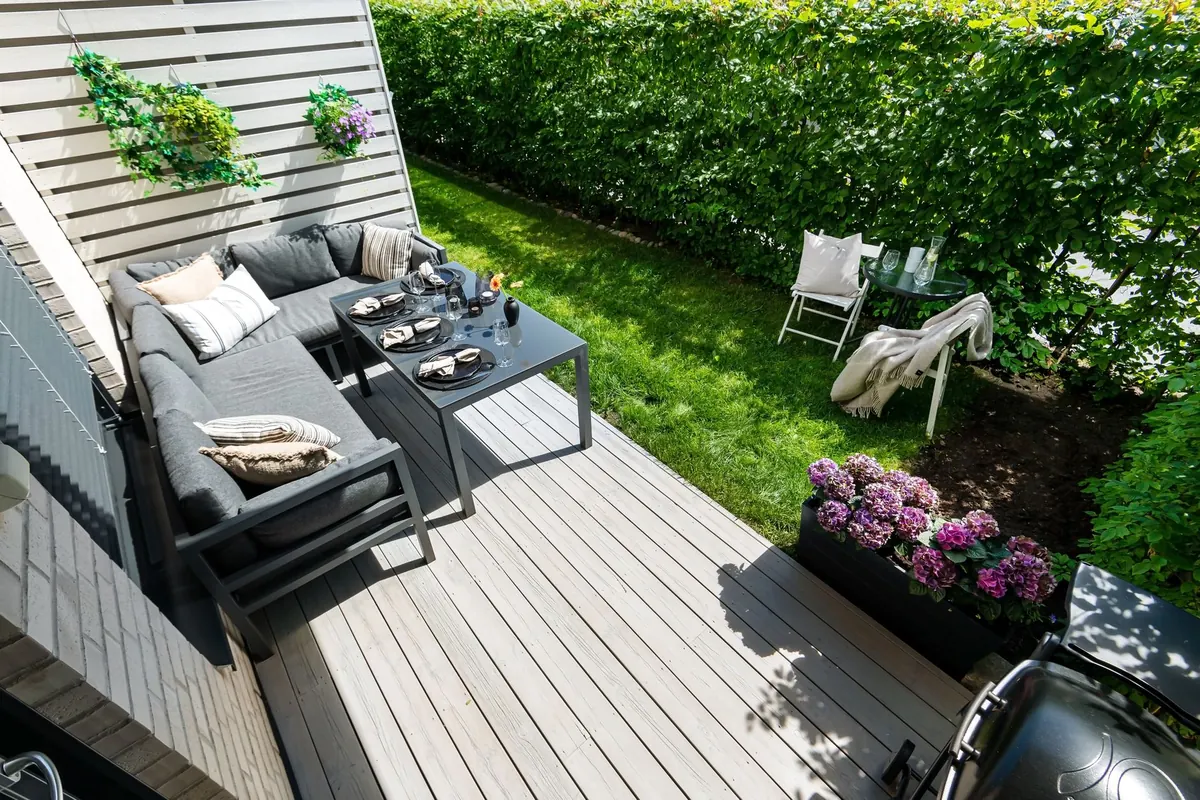
A narrow patio is rarely as narrow as it feels. What makes it feel tight is usually not the width but the arrangement: a table here, two chairs there, a tidy row of pots along the wall, and nothing anywhere to tell you where one activity ends and the next begins. Walk from the back door to the far end and you pass through the middle of every occasion at once.
The fix is not more square metres. It is a sequence. A long, thin space works when it reads as a series of rooms — dining near the house, a quiet place to sit at the far end, planting doing the work of walls in between. What follows is how to place furniture, rugs, planters and screens so a corridor becomes a patio.
Measure the corridor before you move anything
Start by walking the patio as you actually use it: out of the door, down the length, to the step or gate at the end, and back again with a tray in your hands. That route is the spine of the design, and it has to stay clear. Allow 90 cm of width for a comfortable walking line, and treat 75 cm as the absolute minimum for a secondary route. If your patio is 2.4 m wide, that leaves roughly 1.5 m for furniture across the width — which is plenty, once you stop trying to fill it.
Spend ten minutes noting the conditions before you commit to anything:
- Where the sun sits at lunchtime and again at six in the evening.
- Which wall stays warm, and which one is shaded and damp.
- Where the wind funnels between buildings — usually the narrow end.
- Which window you look out of most often, because that view matters as much as the one from the patio.
- The exact width at the narrowest point, measured wall to wall with a tape, not with your feet.
Sketch the outline on graph paper at a scale of 1:50, then cut out paper shapes for the table, chairs and sofa. Moving paper is faster and cheaper than moving a cast-iron table three times in one afternoon.
Put dining at the near end
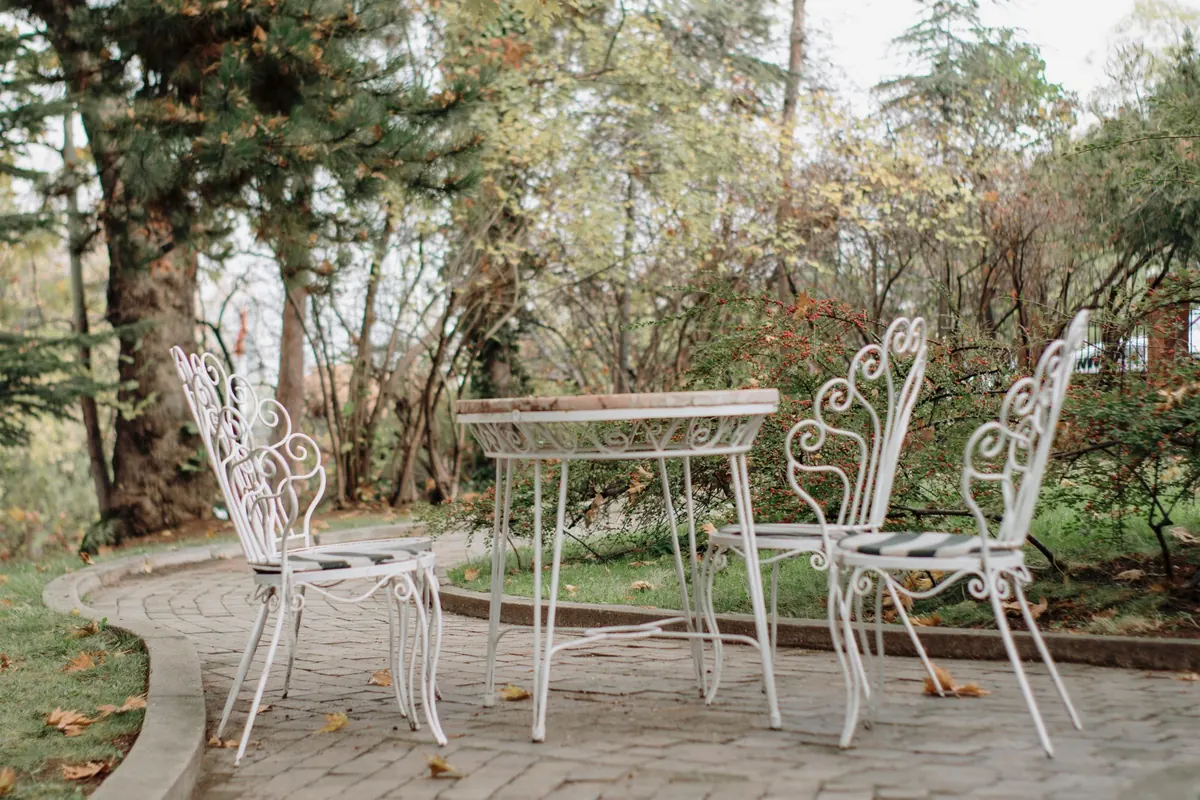
Dining belongs closest to the kitchen door. It shortens every carry, and it turns the table into a destination rather than an obstacle you squeeze past on the way to somewhere else. On a long patio, orient a rectangular table along the long axis so the seating runs with the space instead of across it.
If the patio is under about 2.2 m wide, cheat the depth. Push a narrow table (75–80 cm wide) against the wall or railing, run a bench along that side, and use chairs on the open side only. You reclaim 40–50 cm at a stroke, and the bench reads as built-in seating rather than a compromise. A round table of 100–110 cm diameter is lovely where the patio is at least 2.4 m wide, because it has no corners to bump.
Whichever you choose, leave 75–90 cm behind the chairs so people can push back and stand up without stepping into the planting. Measure this with a chair in place, not in your head.
Keep the middle quiet, then lounge at the far end
The most common mistake on a narrow patio is treating every metre as a chance to put something. The middle section should stay largely empty — it is the corridor that makes the two ends possible. Resist the bench, the bar cart, the second row of pots.
Give the far end to lounging, where it feels like a reward for walking the length. Two chairs and a small table will do. A two-seat sofa 130–150 cm long, set against the long wall with two lightweight chairs angled towards it, makes a proper conversation corner without eating the walkway. Angle those chairs 15–20 degrees off square; furniture lined up parallel to the walls exaggerates the tunnel effect.
Skip the central coffee table. On a narrow patio it blocks the one route you have. Use a slim bench in front of the sofa, or two small side tables that can be lifted apart when guests arrive.
Draw soft boundaries on the floor
Rugs are the quickest way to give a zone an edge without building anything. For a lounge area, choose a rug large enough that the front legs of the sofa and chairs sit on it; a rug that floats in the middle looks like a mistake. For dining, the rug should extend 60–70 cm beyond the table edge, so chairs stay on it when pulled out.
Outdoor rugs in recycled polypropylene are practical and hose down easily; flat-weave styles in a single muted colour last well and hide dust. Two rugs of the same size in related tones will quietly announce two rooms. One rug in the lounge with bare stone elsewhere works just as well and costs less.
A change of surface does the same job. Decking boards laid across the width rather than along it slow the eye down. A strip of gravel, a single course of bricks set flush, or a band of pale stone between the dining and lounging zones marks a threshold without a trip hazard. Keep any change of level flush; a 2 cm lip is enough to catch a heel and a tray.
Use planters as walls you can move
Planters are the most flexible dividers you have, because next winter you can shift them. Choose tall, narrow containers — roughly 40–50 cm wide and 60–90 cm tall — and place them where the zones meet rather than in a continuous line along the wall.
That distinction matters. A row of pots along an entire wall shrinks the patio by half a metre and makes the length feel relentless. Three planters clustered at a corner, with a clear 90 cm gap beside them, gives you the same sense of division and keeps the route open. Repeat the same pot and the same plant each time; rhythm reads as design, variety reads as clutter. Put the heaviest planters on wheeled saucers or felt pads so you can move them for cleaning, or when forty people arrive.
Screens give you a vertical break
If you can install one thing, make it a short screen set perpendicular to the long wall, at the point where dining becomes lounging. A return of 60–90 cm is enough to break the sightline down the patio, and that broken sightline is what stops a narrow space feeling like a corridor.
Slatted timber screens let light and air through and cast good shadows. Solid panels buy privacy but shade the patio; open frames with a climber — jasmine, trachelospermum, a grape vine — soften everything and smell better. Keep the screen 1.6–1.8 m tall and lift it 30–60 cm off the ground on feet if you can. The gap at the bottom keeps the space feeling connected and means you do not have to drill into stone.
Plant for height at the ends, not the middle
Concentrate tall planting at the corners and the far end, where it frames the view and gives the patio a sense of arrival. Along the long walls, use climbers and wall shrubs to pull the eye upward — a narrow border of just 25–30 cm is enough for most of them, and vertical interest costs you no floor space at all.
Keep anything near the walkway low and tidy; nothing should spill more than 30 cm into the path. Mix evergreen structure with seasonal colour so the bones of the design hold through winter. And water before you buy: a pot that dries out in a day is a pot you will resent by August.
A sequence for building it in a weekend
- Empty the patio completely. It will look worse before it looks better.
- Mark the walking route with chalk or string, 90 cm from door to far end.
- Place the largest piece first — the dining table or the sofa — at its end of the patio.
- Add the second zone at the opposite end, then angle the chairs.
- Lay the rug and set the planters to mark the boundary between the two.
- Install the perpendicular screen last, once you can see exactly where the zones divide.
- Live with it for a week before you drill, buy more pots, or plant anything permanent.
You will know it is working when the patio stops being a passage and starts being two places to sit. That is the whole trick: not more space, just a clearer idea of where one thing ends and the next begins.
Photo: Lisa Anna / Pexels